How to Compost: a guide to composting essentials
Compost is a great additive to a gardener’s soil. It can help balance soil acidity, provide nutrients, and makes use of yard and garden waste so you don’t have to bother with landfills or other waste services.
Here, we want to provide with the essential info you need to get composting right in your own yard.
Chose a spot
You can compost anywhere in your yard where you have 5×5 feet of space, but compost generally does well in shady areas.
It also should not be in a place where water pools or can’t drain well. Too much moisture can stop the composting process and/or lead to odor problems.
Container or Pile
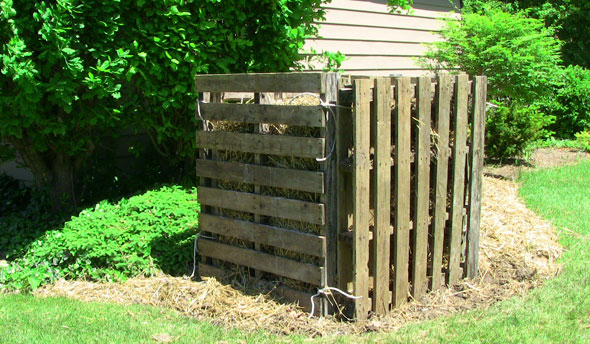
Composting can be done in a container or in a pile. A container is the most efficient way to keep the composting material layered and compacted, but a pile can be used as well.
Containers can be made any convenient shape, and generally should be breathable to let air and moisture through their sides.
Wooden planks with gaps between them work, or chicken wire with weed-barrier fabric wrapped around it works well too.
If you go the pile route, they need to be about a 5×5 ft. in area and can be stacked about 3 ft. high. To ensure proper ventilation, it is helpful to dig a few small trenches beneath the pile that are covered with some fabric, or to lay sticks or a pallet down for the compost to sit on.
Layer
Once you have a container or space to pile, you are ready to create your compost.
This step is the most important, as good compost isn’t just any organic matter thrown in and mixed in anyway. The most efficient composting method layers organic matter and fertilizer or manure.
Organic matter typically consists of all the yard waste and organic kitchen waste you might have; grass clippings, dead flowers, crushed egg shells, apple cores, leaves, pulled weeds even. Chopped up material works best, but it should all be mixed so that no one material mats together on its own too much.
Put down a layer of organic material about 6 inches thick. And stir it and compress it a little so it’s springy but not too lose or solid. Then add a layer of fertilizer or manure.
Manure can be put down in a layer an inch or two thick. If you don’t have or don’t want to use manure, put down a layer of leaves and sprinkle a garden fertilizer such as 12-12-12 using 1 cup per 25 square feet.
Then repeat this process, layering towards the top of your pin or pile.
Turn/Mix
Once you’ve added layers it’s time to wait and let the microorganisms and little creatures get to work decomposing your pile.
If the compost pile is layered and in a good location, the inner temperature of the pile should reach 110⁰ F after a week or so. Once this happens, it’s time to turn the material in the pile to bring “newer” material into the center of the pile.
If you are using a container, a pitchfork can be used to move material around and bring it from the center out to the sides and vice versa.
In a pile, a spade or pitchfork can be used to slice into the pile and turnover material. In both cases, if you find dry spots, spray some water on them to add moisture that will help the process, but no need to soak things.
Timeline
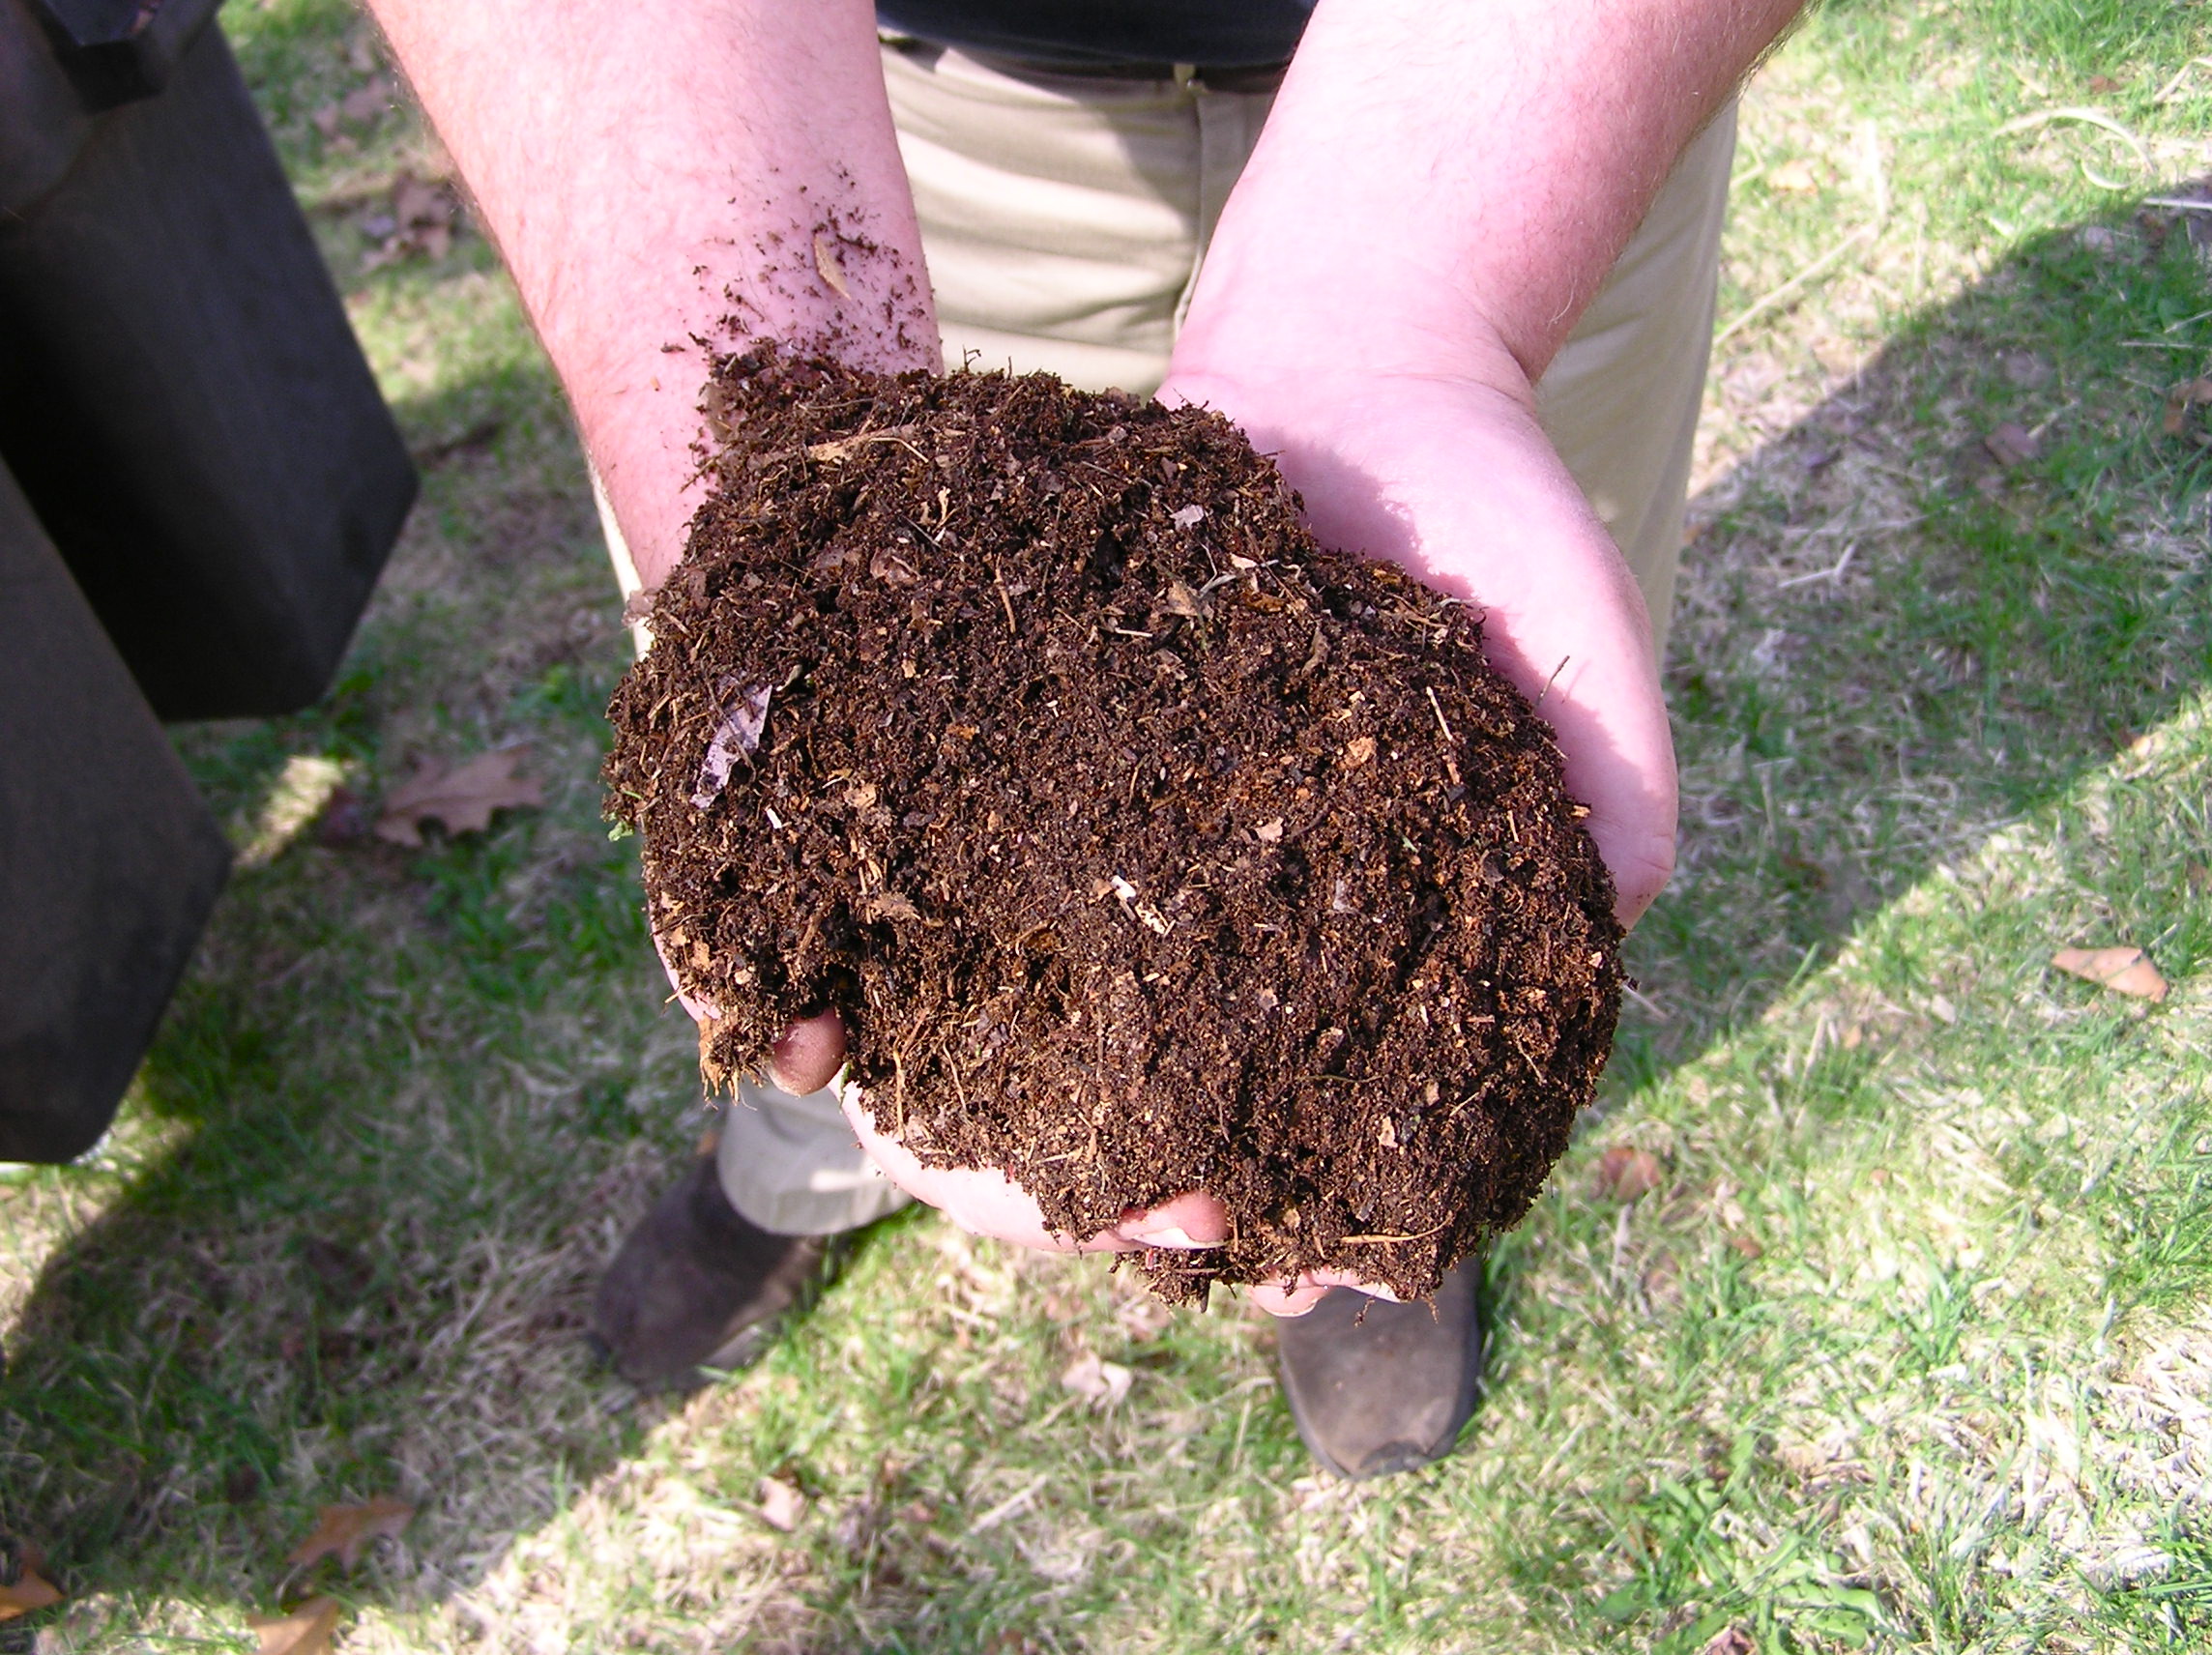
You’ll know your compost is ready when it’s texture is crumbly and you can’t recognize the material that was put into it. It should be dark colored.
The method described here can take anywhere from three to nine months. Thus, to ensure you have good compost for the fall, start in spring or early summer and continue to turn and maintain your compost throughout the season.
Faster method
If you can’t wait 3-9 months for good compost, you can compost faster by using multiple containers or bins to turn the compost more thoroughly. By having multiple bins, compost can be moved from one to another and thoroughly mixed each time.
But to do this, a larger amount of starting organic material is needed, rather than adding material when available as with a pile or single bin.